Electronic gun QB 78/79 based project Return to airguns
I always fancied building an electronically triggered gun - lots of
advantages
The gun is working very reliably shooting a very consistently.
I have recently tidied up the project (22/04/2020) as it was quite a
lash up to be fair.
This is how the gun is currently looking just below - older /
development pics at the bottom of the page
I will put a smaller HPA bottle on as this one gives 100's of shots
!
Shot string - 20 shots - all shot recorded with the wonderful
BlueShot
The electronics - power control and triggering
Power supply and capacitor
Solenoid mount
Benefits of the system
The trigger is a micro switch so no real pull and very consistent as
it is not holding a spring and hammer.
The gun is very economical on air, this I think is because when the
hammer is fired forward it strike the valve the valve will bounce
the hammer back - but as there is no spring in this gun to drive the
hammer there is no bounce back I need to sort some measurements out
to work out just how much air per shot we are saving - I will
probably go to a smaller cylinder as this one is good for 100's of
shots !!
The gun has a choked BSA .177 barrel so is very accurate
The Gun fired by triggering a MOSFET, almost no current through the
micro switch when the trigger is pulled. The MOSFET takes the
current from the charged capacitor and dumps to ground through the
solenoid which in turn hits the valve in the gun to fire.
The cycle time (between shots) is a couple of seconds - to charge
the capacitor - power is set by altering the voltage on the
capacitor.
The bolt is extremely light as no spring needs to be compressed, it
is just pushing the pellet home into the barrel.
First - make a hammer system to replace the QB hammer and spring,
some guess work really and the ability to easily adjust the weight.
I have some more ideas but will have to start on another gun as my
son loves this one so much now !! I have a Chuntsman which may well
be a better choice as the bottom tube is bigger and ideally the
solenoid would be inside the pressure tube anyway - learned a lot on
this project !
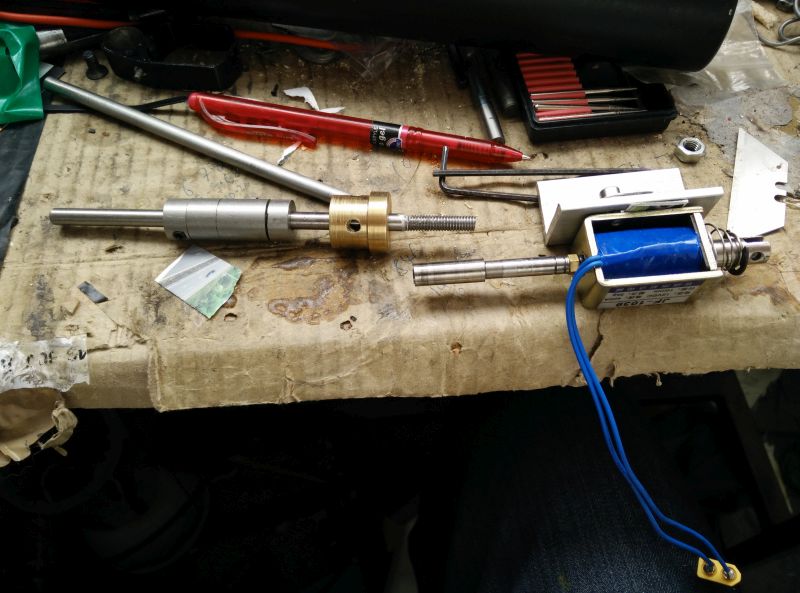
Source a suitable solenoid and figure out how this can be linked to
the hammer - also must be adjustable
Build a test rig - we need a power supply - some capacitance
The current test bed - the system now fires and is reliable
The gun Mk1 - electronics bolted on - proof of concept, now updated
with electronics built in